Create a document of size 800×600 pixels. Create a new layer and name it as "Body". Select the Elliptical Marquee Tool, draw the circular selection at the center of the document. With Paint Bucket Tool, fill the selection with #87cbfc.
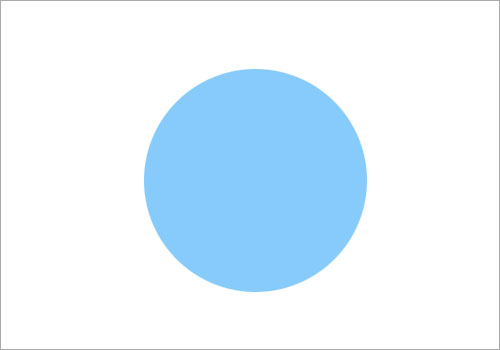
Right-click on "Body" layer and choose Blending Options. Check on Inner Glow and key in the following settings.

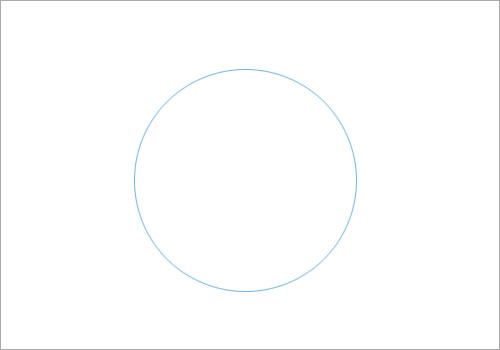
Make a new layer and name it as "Body Front". Create a smaller circular selection and fill it with #87cbfb. Move this new circle to the center of the one in "Body" layer.

Make another new layer and name it as "Body Gloss". Ctrl+left click on the "Body" layer to load its circular selection. Go to Select > Modify > Contract. Set the contraction to 1 pixel and fill the selection with #ffffff.
Select the Eraser Tool and pick the 300px Soft Rounded Brush. Use it to erase the lower part of "Body Gloss" as shown below.

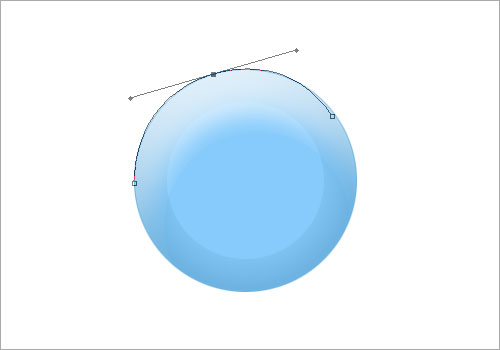
Create a new layer and name it as "Body Highlight". Select the Pen Tool and make a workpath similar to what I have got here below.
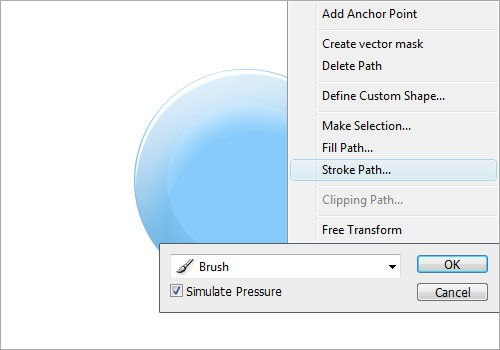
Select Brush Tool and pick the Hard Round 5 pixel Brush. Set the foreground color to #ffffff. Select Pen Tool, right-click on the workpath you have done and choose Stroke Path. Set the type to Brush and check on Simulate Pressure. Hit OK when done. You will get a nice white curve above the "Body Gloss".
Make a new layer and name it as "Body Shadow". Repeat what you did earlier to "Body Highlight" here. Except the foreground color change to #5098c6.

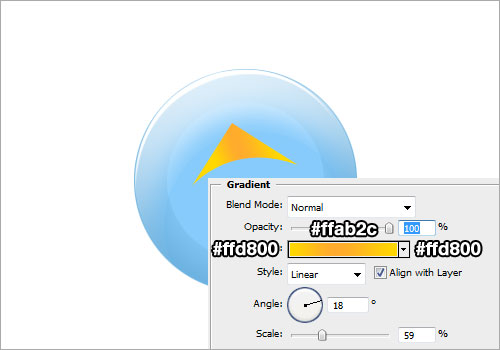
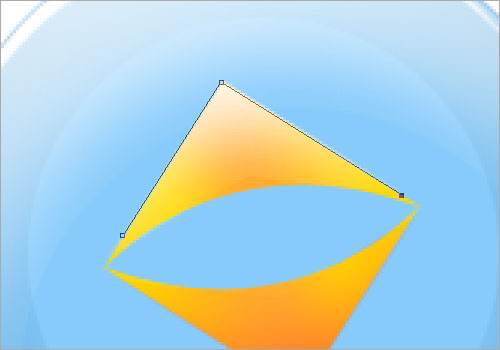
The main body is done. Let us move on to the beak. Using the Pen Tool, create a shape (of any color) like the one below. Name this shape layer as "Beak".

Right-click on the "Beak" layer and choose Blending Options. Check on Gradient Overlay and fill in the settings below.
Duplicate the "Beak" layer. Go to Edit > Transform > Rotate. Adjust the duplicated beak to join nicely from the bottom.

Make a new layer and name it as "Beak Gloss". Ctrl + left click on the "Beak" layer to load selection. Fill the selection with #ffffff.

Select the Eraser Tool and pick the 100px Soft Rounded Brush. Use it to erase the lower part of "Beak Gloss" as shown below.

Create a new layer and name it as "Beak Highlight". Using the Pen Tool, make a workpath like the one below.
Select Brush Tool and pick the Hard Round 5 pixel Brush. Set the foreground color to #ffffff. Select Pen Tool, right-click on the workpath you have done and choose Stroke Path. Set the type to Brush and check on Simulate Pressure. Hit OK when done.

Repeat the stroking steps to the lower beak as well.

Make a new layer BELOW the beak layers. Fill the gap in between the upper and lower beak with #000000.

Now we will start doing the eyes. Using Type Tool, type a letter "U"with a suitable font (I am using Lithos Pro). Go to Edit > Transform > Rotate. Rotate the letter "U" to upside-down. Duplicate this letter "U" to form another eye.

Duplicate the two letter "U"s. Select the lower two "U"s and change their color to #ffffff. Shift their position 3-4 pixels upwards.

Duplicate another two "U"s. Fill them with #5098c6 and shift their positions downwards.

Make a new layer and name it as "Wing". Draw a shape like one I have below. Fill the shape with #87cbfb.

Similar to what we have done earlier for the "Body" and "Beak", add the gloss, highlight and shadow to the wing as well. Merge them as a single "Wing" layer when you are done.

Duplicate the "Wing" layer. Go to Edit > Transform > Flip Horizontal. Adjust the duplicated wing so it fits nicely on the left side.

Make a new layer and name it as "Hair". Let us draw some hair with the Pen Tool.

Make a new layer as name it as "Hair Gloss". Ctrl + left click on the "Hair" layer to load its selection. Fill the selection with #c3e5fd. Go to Select > Modify > Contract and set the contraction to 1 pixel. Select the Eraser Tool and pick the 20px Hard Brush. Use it to erase the lower part of "Hair Gloss" as shown below.

Make another new layer and name it as "Leg". Draw a shape of the leg with Pen Tool. Fill it with #ffde32.

Similar to what we have done earlier for the "Body", "Beak" and "Wing", add the gloss, highlight and shadow to the wing as well. Merge them as a single "Leg" layer when you are done.

Duplicate the "Leg" layer for the other side. Now create a new layer and name it as "Tail". Draw a fan-shaped and fill it with #87cbfb.

Simply add in the highlights and shadows and we are done! Hope you like this tutorial and we hope to see you around in TWITTER! Follow us at @Development01 and @10steps!

Hope you like this tutorial and we hope to see you around in TWITTER!
Follow us at @Development01 and @10steps!

No comments:
Post a Comment